Sealing windows: How to stop drafts and save heating costs
Leaky windows are energy guzzlers! Whether it's cold drafts in winter or high heating bills, poorly sealed windows can be expensive. In this guide, we'll show you the methods you can use to professionally seal windows, which sealing materials work best, and how you can save energy in the long run.
✅ This is what you will learn in this article:
✔ What types of seals are available (rubber, foam, silicone & more)
✔ Step-by-step instructions for making it yourself
✔ The best tips for old buildings & modern windows
✔ Cost comparison:
Is DIY or professional installation worthwhile?
1. Why seal windows? The benefits at a glance. Leaky windows lead to:
❌ High heating costs (up to 20% more energy consumption!)
❌ Mold formation due to moisture
❌ Drafts & unpleasant cold spots
Good sealing not only saves money but also increases living comfort.
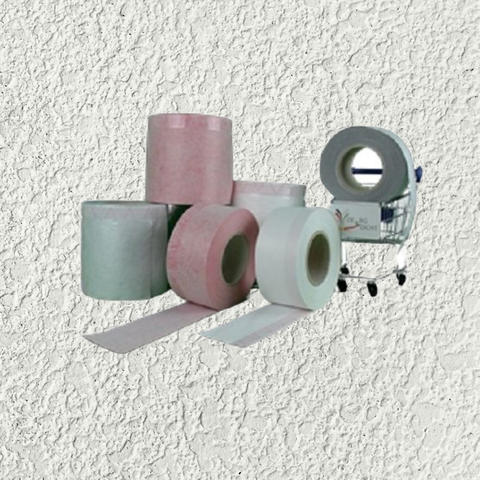
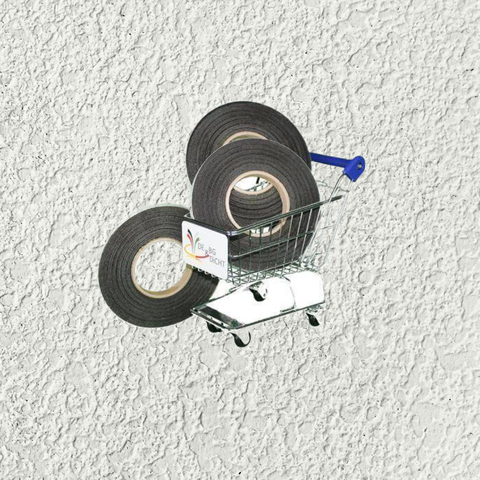
2. What sealing materials are available?
material | Advantages | Disadvantages | Ideal for |
Rubber seal (EPDM) | Durable, flexible, weatherproof | More expensive | Window frame, outdoor area |
foam sealing tape | Cheap, easy to process | Doesn't last forever | Rental apartments, temporary solutions |
Silicone seal | Waterproof, elastic | Difficult to remove | Bathrooms, damp rooms |
Window fleece ( FiberGuard ) | Invisible, good insulation | Not for strong drafts | Minor leaks |
insulation |
| Not for strong drafts | Minor leaks |
➡ Tip for old windows: Combine rubber seal + compression tape for maximum sealing effect!
3. Sealing windows – step by step 🛠️ Materials:
- Sealing tape (e.g. EPDM or foam)
- Scissors / cutter knife
- Cleaning alcohol (for grease-free surfaces)
- Tape measure
🔧 Instructions:
1. Clean the window (remove dust and grease, otherwise the seal will not stick).
2. Cut the sealing tape (slightly overlapping at the corners).
3. Press the seal on (glue slowly and evenly).
4. Close windows and test (draft test with lighter/light).
➡ Pro tip: Use self-adhesive seals for easy installation!
4. When is it worth hiring a professional?
✔ If several windows are leaking (free check by energy consultant possible)
✔ For historic windows (special solutions required)
✔ If mold is present (sealing alone is not enough)
💡 Cost example:
- DIY sealing: €5–20 per window
- Professional installation: 50–150 € per window
5. Conclusion: A good seal is half the battle! With the right seal, you can save hundreds of euros in heating costs annually and prevent mold. Combination solutions (EPDM + compression tape) are suitable for older buildings; for modern windows, a foam sealing tape is often sufficient.

- 24/04/2025
- 37 Views
_400x400.webp?ts=1735165250 "DE & BG Dicht GmbH")
Fenster abdichten: So stoppst du Zugluft & sparst Heizkosten


Related articles

Content: 8 m (€0.46* / 1 m)

Content: 25 m (€1.28* / 1 m)

Content: 0.3 Litres (€20.67* / 1 Litres)
Content: 0.3 Litres (€20.67* / 1 Litres)

Content: 6 m (€2.97* / 1 m)

Content: 0.31 Litres (€23.87* / 1 Litres)